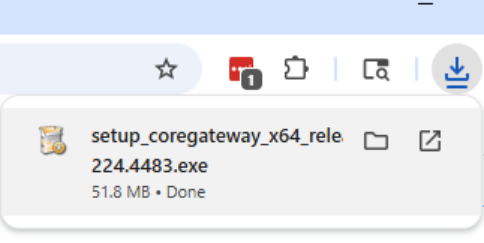
Download CoreGateway
CoreGateway is the Studycast upload application that receives studies and securely uploads images.
CoreGateway should be installed on a Windows device on the same network as your imaging device or connected to your imaging device via a crossover/ethernet cable. You will need administrative credentials on the device to complete this installation.
00:00: This guide offers crucial instructions for downloading and installing CoreGateway.
00:04: Adhering to these steps will facilitate your modality configuration appointment and
00:09: guarantee smooth operation.
00:11: It is essential to complete this process before your configuration appointment.
00:16: To ensure your modality configuration appointment runs smoothly,
00:19: it's important to download CoreGateway
00:21: beforehand. Administrators typically have default access to download CoreGateway,
00:25: but other users can be granted permission through the 'Download CG' setting in
00:30: User Permissions.
00:32: You'll also need a Windows computer with administrative access for the installation,
00:36: so please coordinate with your IT team if necessary.
00:41: To get started,
00:41: log into Studycast by visiting www.studycast.com and selecting "Log
00:48: In" in the upper right corner. You will be prompted to enter your username and
00:52: password then click sign
00:53: on. If this is your first time logging in, the software will ask you to change
00:57: your
00:58: password. This is a normal
00:59: procedure. Follow the prompts to complete your login.
01:04: Once logged in, click the CG Download button to access the application installers
01:09: available for download.
01:11: Once you make that selection, you will be directed to the application installers,
01:15: where you can choose to download.
01:16: You should see the download prompt and open the installer once it is complete.
01:23: Continue progressing through the installation process by accepting the license terms
01:27: and installing CoreGateway.
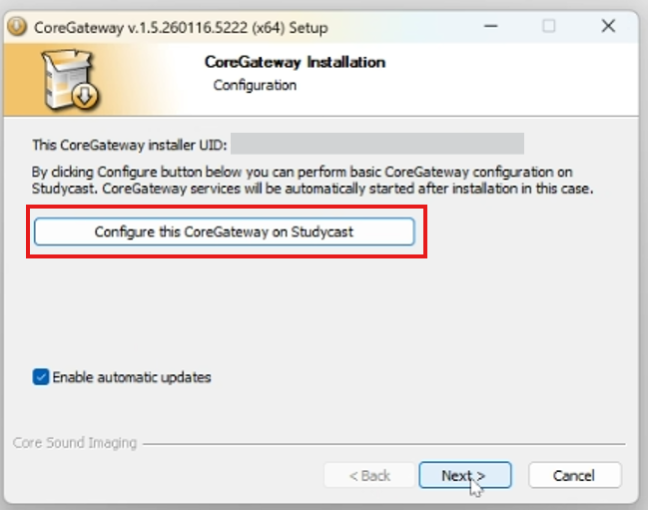
01:30: First, ensure Enable automatic updates is selected.
01:35: Then click Configure this CoreGateway in Studycast to select the division to which these
01:39: studies should be uploaded.
01:42: Once you select "Configure this CoreGateway" on Studycast, a
01:45: new browser tab will open. Use
01:47: the Division drop down menu to select your division, then click on "Done."
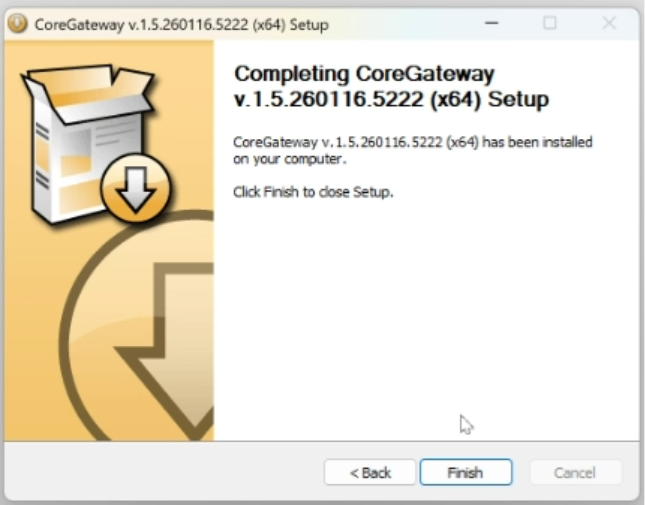
01:53: Navigate back to the installer and click finish to complete the installation.
01:56: Your browser may be covering the installer on your screen when you configure
02:00: divisions.
02:02: In summary, downloading and installing CoreGateway involves selecting the download button,
02:06: following the installation prompts, and configuring the software to upload studies
02:11: to your specific division. Ensuring automatic updates are enabled and coordinating with
02:16: IT for
02:17: administrative access are
02:18: key steps for a successful setup.
Step 1: Download CoreGateway
Click the Download button to download the CoreGateway Installer. Double-click to continue with the installation and save the installer to your computer.
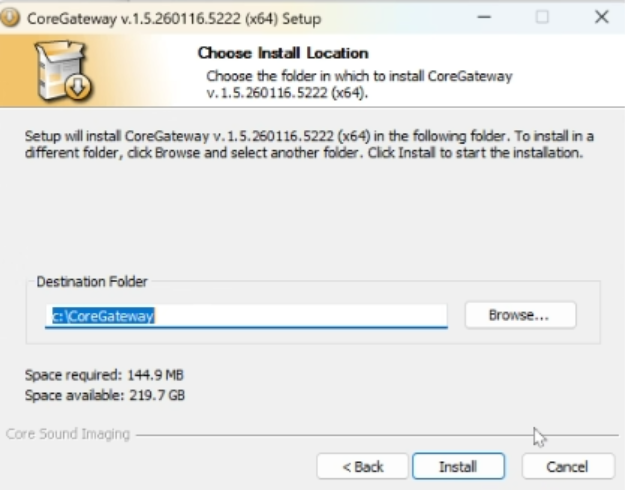
Step 2: Install CoreGateway
Keep moving through the installation process by clicking "Next," accepting the license terms, and installing CoreGateway.
Step 3: Configure your CoreGateway
You'll see a window pop up asking you to configure this CoreGateway on Studycast. Just click the button!
You'll also notice a checked box on the screen for Enable automatic updates. We suggest keeping this checked. Your CoreGateway will look for updates at 2 a.m. EST and install them automatically, so you're always running the latest version.
Step 4: Select your Division
Clicking on "Configure this CoreGateway on Studycast" will open a new browser tab, where you can select the specific division to which this CoreGateway will upload studies. Once you've chosen your division, just click "Configure".

Step 5: Finish Installation
Navigate back to the installer (your browser may be covering it on your screen). Click Finish to complete the installation.
Modality Configuration
To configure your imaging modality, you will need to enter the following information, typically on the Network or Device tab within the modality settings.
- Port: 10104
- IP Address: The IP address will be the IP address from the computer or server on which CoreGateway is installed. This system should have a static or reserved IP address so that it remains constant.
- AE Title: Coregateway
To determine the IP address on your computer:
- Go to Network & Internet settings on your CoreGateway device.
- Select Ethernet.
- Locate your IP address listed next to IPv4 address.
If you need further assistance configuring your imaging modality, please schedule an appointment with the Support team. You will need to set aside about 30 minutes per imaging device for configuration. To get started, you’ll need:
- Your imaging or diagnostic equipment
- A network connection. We’ll guide you through the rest.